Knoxville We Buy Cars
CALL NOW TO GET PAID CASH FOR YOUR CAR
Sell Your Used Car Today In Knoxville
How to Change Your Engine Air Filter
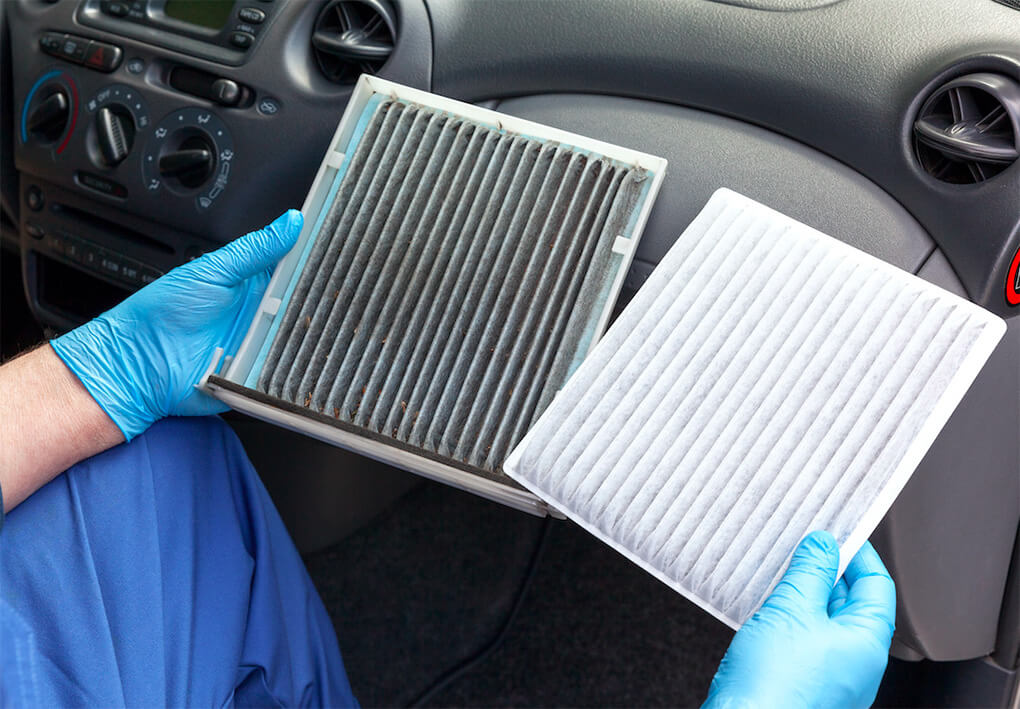
As different components of your car need maintenance so do your engine's air filter. Car engines need fuel and air to function properly. Air flows through the engine by an air filter, which blocks leaves, dust, dirt, debris, and other contaminants from entering. Over time, the filter can get dirty and clogged, and you may experience that you may have to use more gas than often, or even notice that your air conditioner is not working properly. These are a few signals giving you notice that you need to replace your air filter.
Changing the filter regularly can have many benefits such as increasing your engine's life capacity and fuel performance, and even preventing your car from stalling. Because of this, it is recommended that you change out the air filter every 12,000 to 30,000 miles. The numbers can fluctuate based on driving conditions, the vehicle's manufacturer, and/or any form of previous damage. On the other hand, it is best to refer to your owner’s manual to determine how often you need to replace the filter. Buying this part is very affordable as it can range from $5 to $70, though the price varies depending on your car’s make and model.
6 Easy Steps to Replacing Your Air Filter
Changing out your engine air filter is easy to replace, and your vehicle’s owner manual will come in handy for the job.
1. Proceed with Caution: For a hassle-free process, ensure that your vehicle is safely parked. Make sure your engine is completely turned off to ensure none of the electrical components are operating. If you have been driving, allow your car to cool off to prevent any burns or electrical shocks.
2. Locate the Housing: After securing all the precautionary measures, you need to open your hood and locate the engine air filter. It is common for the housing to look like a black plastic box with hoses sticking out of its side. Normally, it rests on top of the engine or the side of the engine. Always refer to your owner's manual for assistance.
3. Remove Your Used Filter: Identify how and where the housing opens. The housing may be fastened together with screws, wing nuts, and/or clamps. To open it, simply remove the fasteners and remove the air filter housing cover. Take note of the kind of fasteners used as it can affect what type of tool you need to use.
4. Inspect the Old Filter: Check whether your filter needs to be replaced. You can do this by looking inside the pleats (or folds) of the filter; if you see a lot of dirt, then your filter is in dire need of a replacement. You can also check by tapping the air filter and if dirt falls out, it is time to replace the filter. To remove it, simply lift it out with your hands.
5. Install the New Filter: After removing the old filter, clean out any excess dirt or debris you may see inside the housing. You can do this with a vacuum or a rag. Next, take your new air filter and identify which side should be facing down based on how the old filter was placed. In most cases, the rubber rim should be facing up. Double-check that it fits snugly in the housing.
6. Test Out Your Work: Once the filter is properly secure, place the housing cover back and put the fasteners back on. To ensure the filter housing is stable, touch the edges of the housing under the cover to make sure there are no gaps that may cause air contamination.
Now that your air filter is replaced, it’s best to keep up with maintenance. No car is exempt from potential damage caused by a dirty air filter. Proper maintenance of your vehicle is necessary as it will protect you, and your vehicle, as well as preventing any unnecessary mechanic visits.

Call Knoxville We Buy Cars Today
© 2025 Knoxville We Buy Cars | Privacy Policy
